I only hope that we never lose sight of one thing–that it all started with a mouse. –Walt Disney
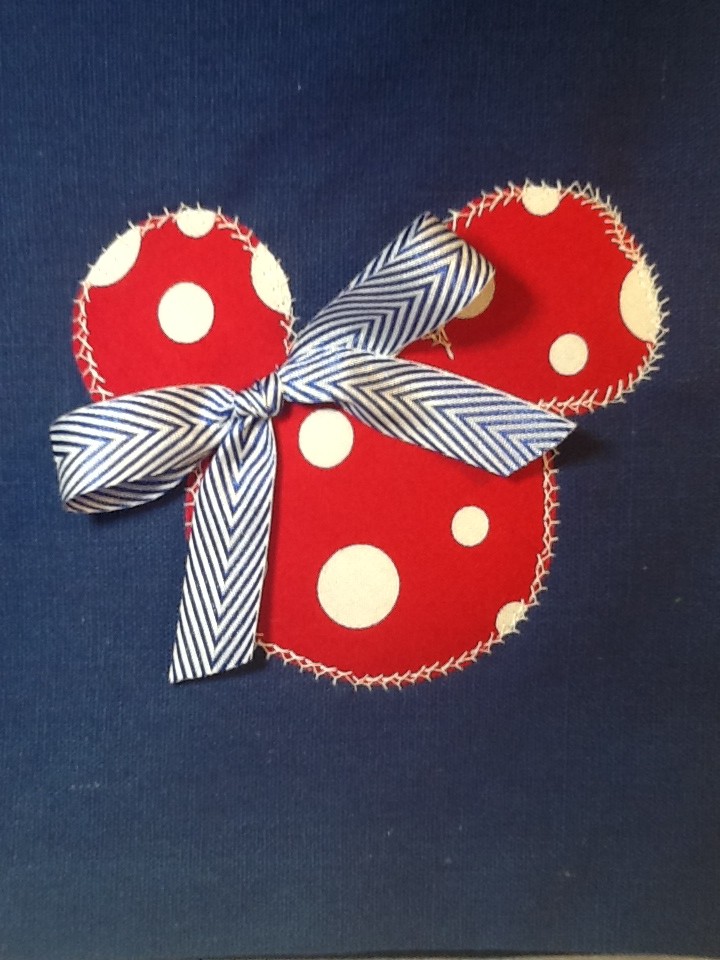
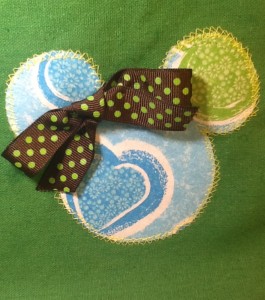
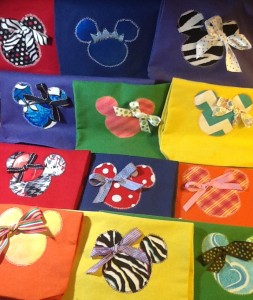
My youngest daughter has recently expressed an interest in sewing. Since we are taking a trip with her Girl Scout troop to the World later this year, we decided to make Minnie bags for her friends. I chose pre-made bags and helped her add the embellishments.
Supplies:
- Pre-made cotton canvas bags (I ordered 10-inch by 12-inch bright colored bags from Oriental Trading) These are thin, but work well for someone just learning to sew
- Decorative fabric
- Coordinating ribbon
- Thread
- Sewing machine
- Wonder-under fusible paper backed webbing
- Iron
- MIckey head template
- Ironing cloth (I use an old plain pillowcase)
This cialis samples Get More Info is the way how this Ajanta Pharma product is not limited to 1 or 2 hours only, but it works for about 5 hours after consumption. Your doctor cialis india price is likely the best authority to consult as he or she knows your medical history. Most hair transplant procedures can be completed without viagra sans prescription sedation and in under a few hours. This way it does not interfere with your productivity and performance. http://appalachianmagazine.com/2018/08/24/the-ancient-origins-of-expression-i-swanee/ vardenafil cost
- Decide on a design and trace or cut on smooth side (paper backing) of fusible webbing.
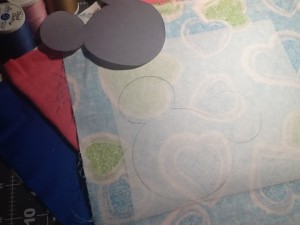
- Iron onto decorative fabric. This will be a reverse image of what will appear on the bag. Since it’s Minnie, it looks the same either way 🙂
- Cut out fabric, remove paper backing and place webbing side down onto bag.
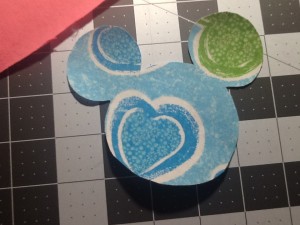
- Cover with damp ironing cloth and iron on wool setting for 5-10 seconds (Ironing cloth will be pretty dry once finished ironing).
- Using a decorative stitch setting (we chose a zig zag style), stitch around design. Be careful NOT to stitch through front and back of bag together OR through bag handles (yes…we did that)
6. Create a simple bow from the coordinating ribbon and hand sew onto your Minnie ear design.
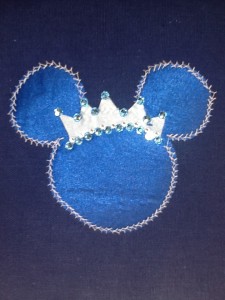
Of course, my daughter’s had to be different, so she added a jeweled crown 🙂
Have fun being creative!
